Size: 19" x 19"
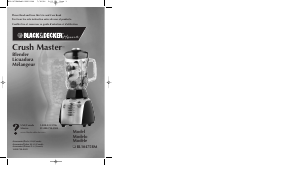
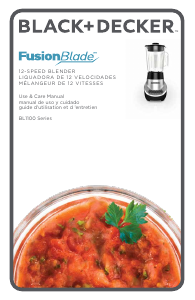
5-SPEED DIGITAL BLENDER
MÉLANGEUR NUMÉRIQUE
DE 5 VITESSES
Please Read and Save this Use and Care Book.
IMPORTANT SAFEGUARDS
When using electrical appliances, basic safety precautions
should always be followed including the following:
❍ Read all instructions.
❍ To protect against risk of electrical shock do not immerse
cord, plugs or appliance in water or other liquid.
❍ Close supervision is necessary when any appliance is used
by or near children.
❍ Unplug from outlet when not in use, before putting on or
taking off parts, and before cleaning.
❍ Avoid contacting moving parts.
❍ Do not operate any appliance with a damaged cord or
plug or after the appliance malfunctions, or is dropped or
damaged in any manner. Return appliance to the nearest
authorized service facility or call the appropriate toll-free
number on the front of this sheet for examination, repair or
electrical or mechanical adjustment.
❍ The use of attachments, including canning jars, not
recommended by the manufacturer may cause fire, electric
shock or injury.
❍ Do not use outdoors.
❍ Do not let cord hang over edge of table or counter.
❍ Keep hands and utensils out of container while blending to
reduce the risk of severe injury to persons or damage to the
blender. A scraper may be used, but must be used only when
the blender is not running.
❍ Blades are sharp. Handle carefully.
❍ To reduce the risk of injury, never place cutter-assembly
blades on base without jar properly attached.
❍ Always operate blender with cover in place.
❍ When blending hot liquids, remove center piece of
two-piece cover.
❍ Do not use appliance for other than intended use.
❍ Always check that the control is OFF before plugging into
the wall. To disconnect, turn the control OFF, then remove
plug from the wall outlet.'
SAVE THESE INSTRUCTIONS.
This product is for household use only.
POLARIZED PLUG (120V Models Only)
This appliance has a polarized plug (one blade is wider than the
other). To reduce the risk of electric shock, this plug is intended to
fit into a polarized outlet only one way. If the plug does not fit fully
into the outlet, reverse the plug. If it still does not fit, contact a
qualified electrician. Do not attempt to modify the plug in any way.
TAMPER-RESISTANT SCREW
Warning: This appliance is equipped with a tamper-resistant
screw to prevent removal of the outer cover. To reduce the risk
of fire or electric shock, do not attempt to remove the outer
cover. There are no user-serviceable parts inside. Repair
should be done only by authorized service personnel.
ELECTRICAL CORD
a) A short power-supply cord (or detachable power-supply cord)
is to be provided to reduce the risk resulting from becoming
entangled in or tripping over a longer cord.
b) Longer detachable power-supply cords or extension cords are
available and may be used if care is exercised in their use.
c) If a long detachable power-supply cord or extension cord is
used,
1) The marked electrical rating of the detachable power-supply
cord or extension cord should be at least as great as the
electrical rating of the appliance,
2) If the appliance is of the grounded type, the extension cord
should be a grounding-type 3-wire cord, and
3) The longer cord should be arranged so that it will not drape
over the countertop or tabletop where it can be pulled on by
children or tripped over.
Note: If the power supply cord is damaged, it should be replaced
by qualified personnel, in Latin America by an authorized service
center.
This symbol is placed near information that requires
your special attention.
Product may vary slightly from what is illustrated.
How to Use
This product is for household use only.
GETTING STARTED
• Wash all removable parts as instructed in CARE AND CLEANING
section.
• Wipe outside of appliance with a damp cloth; dry thoroughly.
BLENDER JAR ASSEMBLY
1. Turn blending jar upside down and place flat on countertop or work
surface.
2. Put gasket on top of blade assembly with blades facing up. (See
wording on ring around the blade.)
3. Place blade assembly with gasket into bottom opening of the jar
with blades facing down and gasket resting on blending jar glass.
4. Place jar base onto jar and rotate clockwise until it is tight.
5. Turn assembled jar right side up.
6. Place lid with lid cap onto blending jar.
7. Uncoil power cord from storage area under the base.
8. Place jar assembly on base, making sure it fits comfortably against
the base of the blender. (This jar can be placed in a number of
positions on the base.)
9. Blender is now ready for use.
USING YOUR BLENDER
Important: If the blender runs more than 2 minutes, the motor will
automatically shut off. If this happens, press any button to resume
operation.
Note: The PULSE function will stop working after 20 seconds of
continuous use. The motor will stop and the blue power light will
flash. If this happens, unplug the appliance and wait 5 seconds for the
appliance to reset.
1. Place foods to be blended into jar, liquids first, then any solids.
2. Place lid on jar; make sure lid cap is in place.
3. Plug power cord into outlet.
Note: When in use, do not leave blender unattended. When using hard
foods, such as ice, keep one hand on the lid to keep blender in place.
4. To select the speed that best suits your desired task:
Press the button with appropriate action for the speed or function
you would like to use (See SPEED CHART.)
5. When blending thick mixtures, such as smoothies, power drinks
and milkshakes press the PULSE button to begin the blending
process. It will automatically run for 2 seconds and then stop. Let
the blades come to a complete stop before pressing the PULSE
button again. This helps break up the ice. Repeat for 2 or 3 more
cycles, if desired.
Note: For best results, do not run blender longer than 2 minutes total
time.
6. To stop any function at any time press the OFF button.
7. Open the lid cap to add ingredients while the blender is running
and drop or pour ingredients through the opening.
Important: Do not remove the lid while the blender is running.
8. When finished, press the OFF button. Make sure blades have
completely stopped before attempting to remove the blending jar
from the base.
9. To remove the jar, grasp the handle and lift straight up.
10. Remove lid to pour.
11. Always unplug the appliance when not in use.
SPEED CHART
Stir: Use for thin mixtures and thin sauces • Mix puddings
Blend: Prepare salad dressings • Remove lumps from gravies
Puree: Puree hot soups and sauces • Milk shakes combining milk,
ice cream and flavoring
Liquefy: Liquefy fruits, sorbets, fruit juices and ice to make a
drink • Blending ice, fruit juices, frozen fruits and liquor to make
frozen drinks
Pulse: To maintain control of the size of foods being ground or crushed
DO NOT place any of the following in the blender: large pieces of
frozen foods; tough foods such as raw turnips, sweet potatoes and
potatoes; bones; hard salami, pepperoni and hard sausages; boiling
liquids (cool for 5 minutes before placing in blending jar)
DO NOT:
Operate blender without the lid on the blending jar. Store foods in
the blending jar. Overfill the blender. (The blender is more efficient
with less rather than more.) Use PULSE for more than 5 seconds at
a time. Release the PULSE button; allow the blender to rest briefly,
then continue. Run blender for longer than 30 seconds when using
dry foods and 2 minutes when blending liquids. Scrape down sides on
blending jar, if necessary and continue blending. Use if blender jar is
chipped or cracked.
Tasks not recommended for the blender: Whipping cream; beating egg
whites; mixing dough; mashing potatoes; grinding meats; extracting
juice from fruits and vegetables
INTELI-FUSE™ protection:
• Your blender comes with intelligent protection. The blender may
overheat when blending extremely heavy loads or mis-operation. If
this occurs, the blender will automatically shut off and the power
light will flash.
• Unplug the appliance; wait 20 minutes and then resume use of the
blender. DO NOT RETURN THE APPLIANCE.
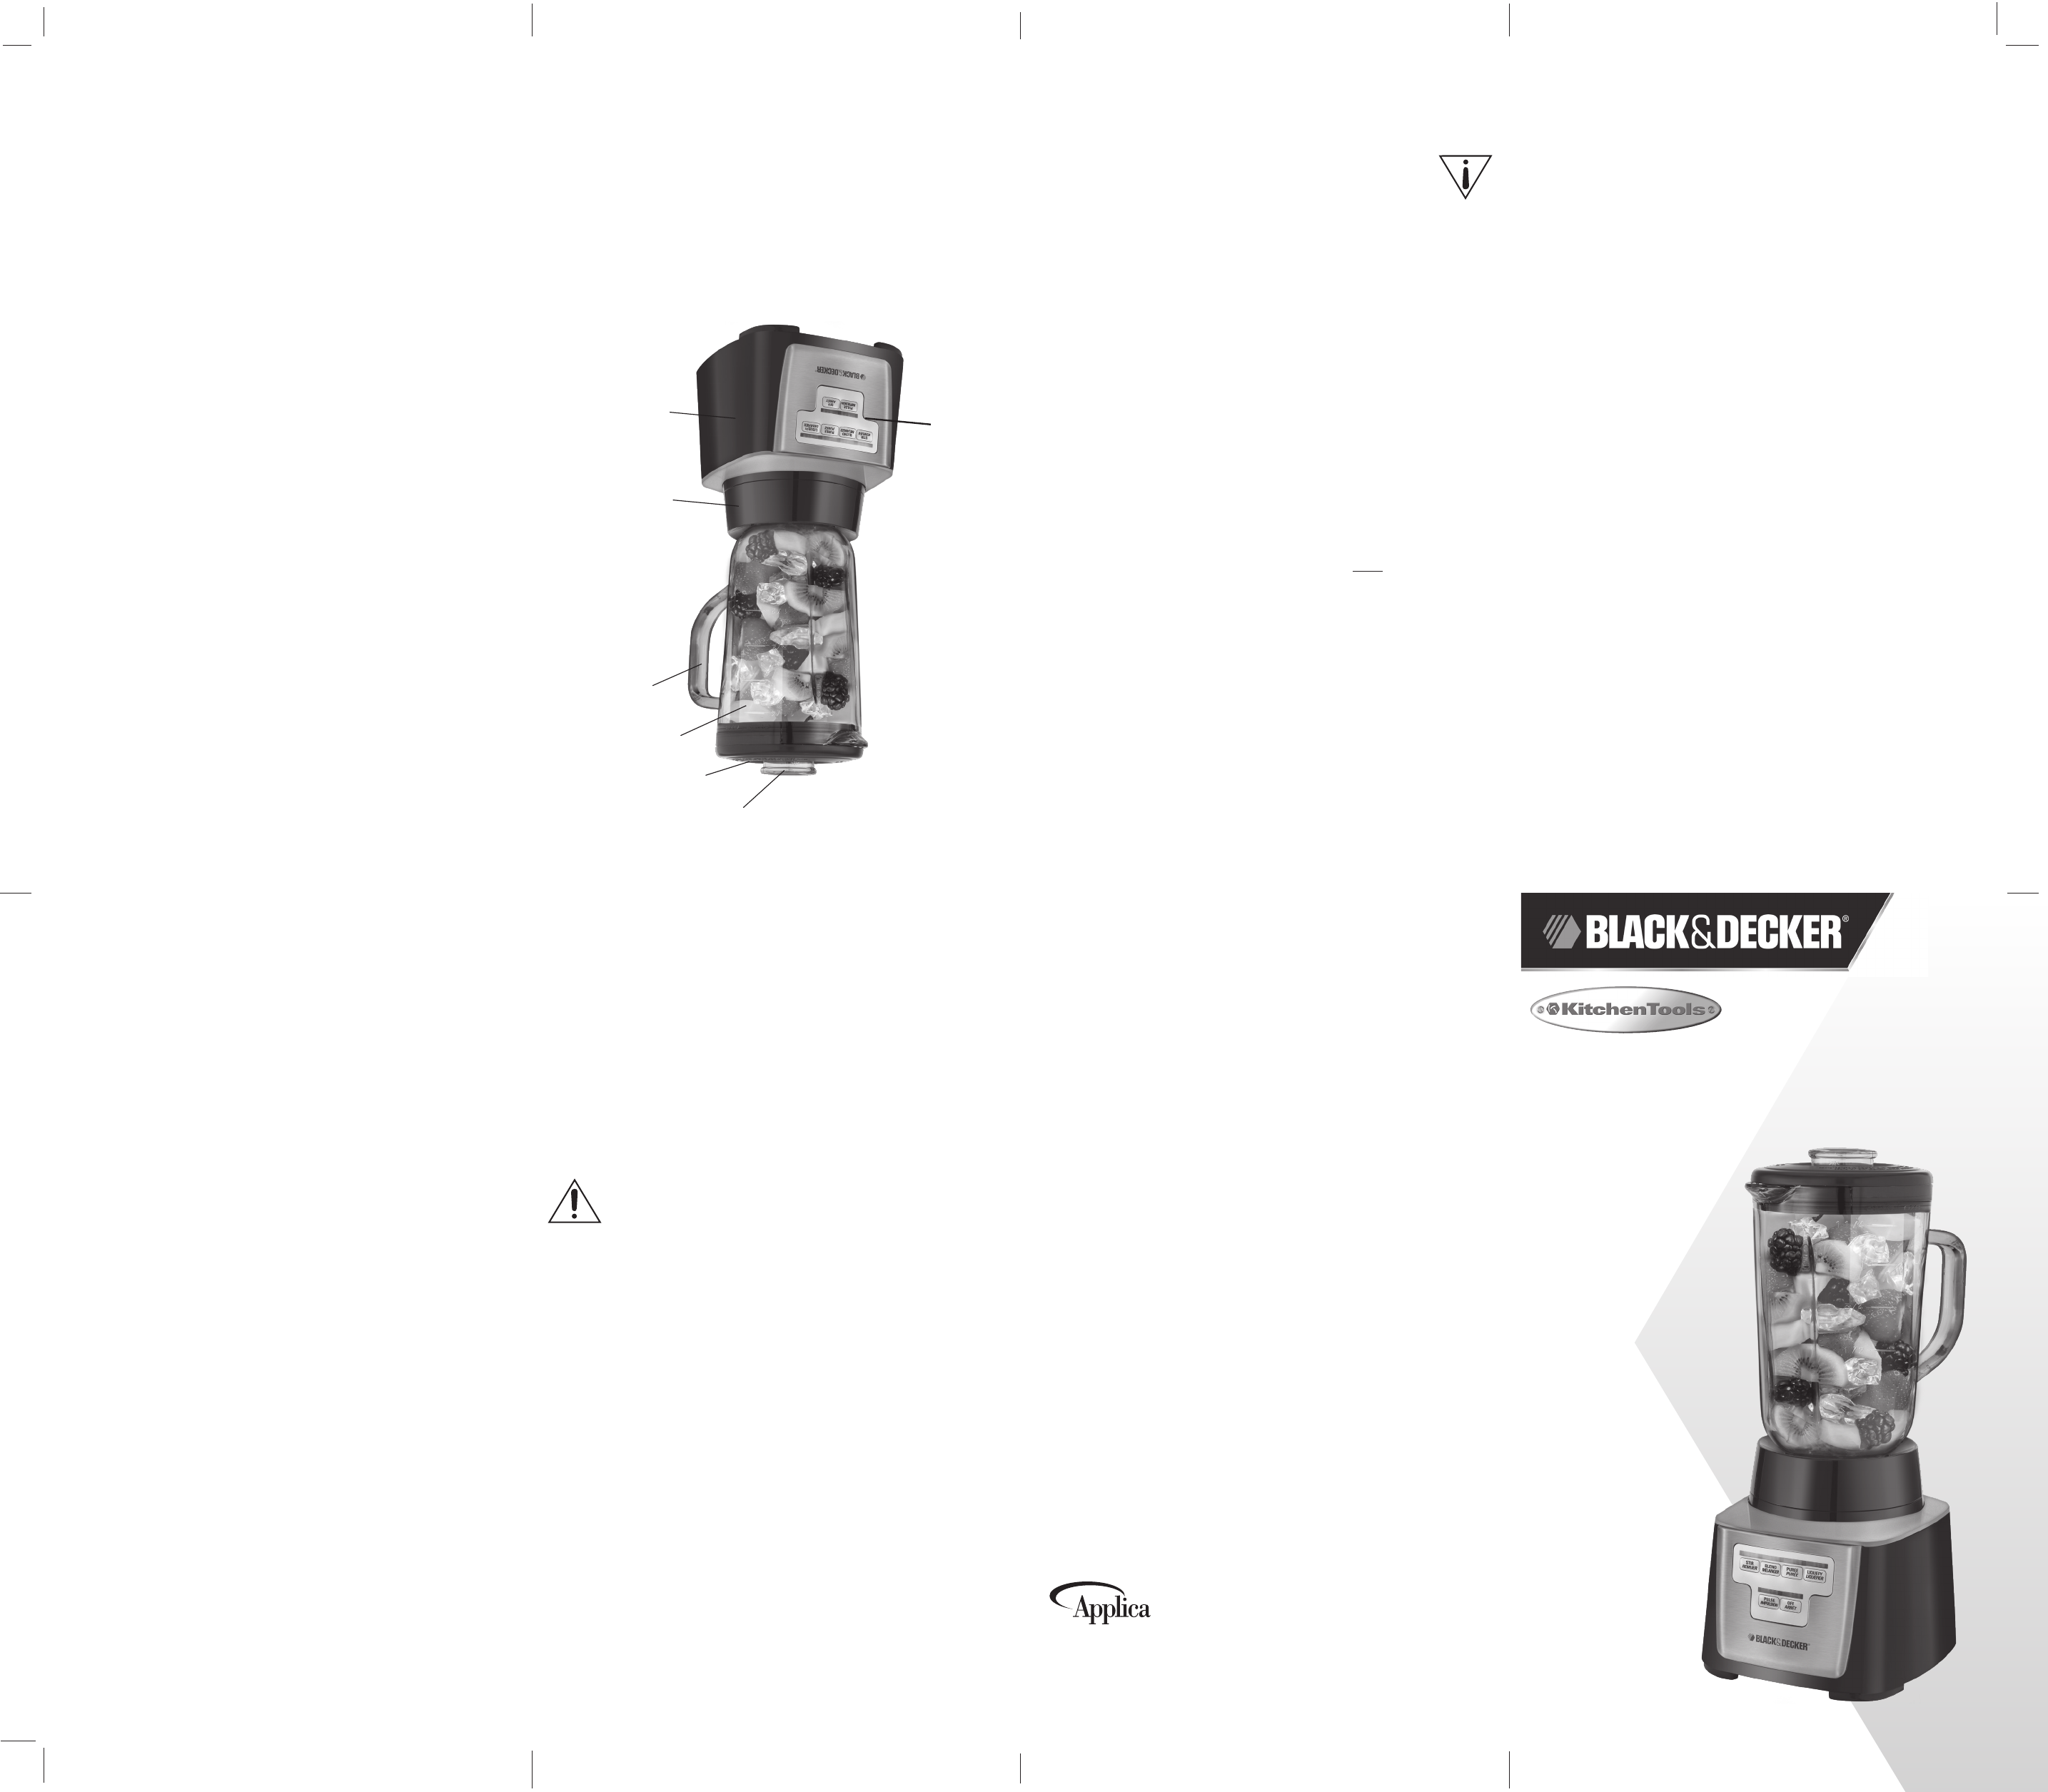
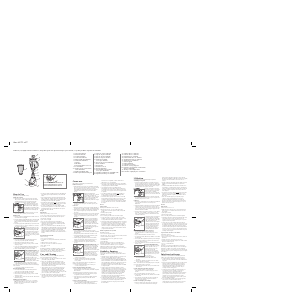
† 1. Lid cap (Part # BL5500-01)
† 2. Lid (Part # BL5500-02)
† 3. 5-cup (40 oz.) glass blending jar (Part # BL5500-03)
4. Handle
† 5. Jar base (Part # BL5500-06)
6. Blender base
7. Control panel
† 8. Gasket (Part # BL5500-04) (not shown)
† 9. Blade assembly (Part # BL5500-05) (not shown)
Note: † indicates consumer replaceable/removable parts
Note: If you have used the Pulse function continuously for longer than
20 seconds, the appliance will turn off and the blue power light will
flash.
• Unplug the appliance; wait 5 seconds and resume use of the
blender.
Care and Cleaning
This product contains no user serviceable parts. Refer service to
qualified service personnel.
CLEANING
1. Before cleaning, turn off (0) and unplug appliance.
2. Lift blending jar by handle off power base.
3. Remove jar base by turning counterclockwise until loose.
4. Remove gasket and blade assembly.
Caution: Blades are sharp, handle carefully.
5. Remove lid and measuring cup lid insert.
6. Wash removable parts by hand or in your dishwasher. Place jar on
bottom rack and rest of parts on top-rack only.
Important:
• Do not place jar parts in boiling liquids.
• Do not immerse base in liquid. Wipe base with damp cloth and dry
thoroughly.
• Remove stubborn spots by rubbing with damp cloth and
nonabrasive cleaner.
Note: If liquids spill onto base, wipe with damp cloth and dry
thoroughly. do not use rough scouring pads or cleansers on parts
or finish.
QUICK CLEANING
For quick cleanup, combine 1 cup hot water and a drop of liquid dish
soap in the blending jar. Cover and clean on (5) for about 30 seconds.
discard liquid and rinse jar thoroughly.
STORAGE
For convenient storage, wrap the cord around the supports on the
bottom of the blender base.
2010/3-13-53E/F
MODEL / MODÈLE
❍ BL5500SC
© 2012 Applica Consumer Products, Inc.
États-Unis/Canada 1-800-231-9786
Accessoires/pièces : 1 800 738-0245
Aller à l’adresse
www.prodprotect.com/applica
pour enregistrer votre produit
USA/Canada 1-800-231-9786
Accessories/Parts 1-800-738-0245
Register your product at
www.prodprotect.com/applica


Joignez-vous à la conversation sur ce produit
Ici, vous pouvez partager ce que vous pensez du Black and Decker BL5500SC Blender. Si vous avez une question, lisez d’abord attentivement le mode d’emploi. La demande d’un mode d’emploi peut être effectuée en utilisant notre formulaire de contact.