6
ENGLISH
(Original instructions)
7
ENGLISH
(Original instructions)
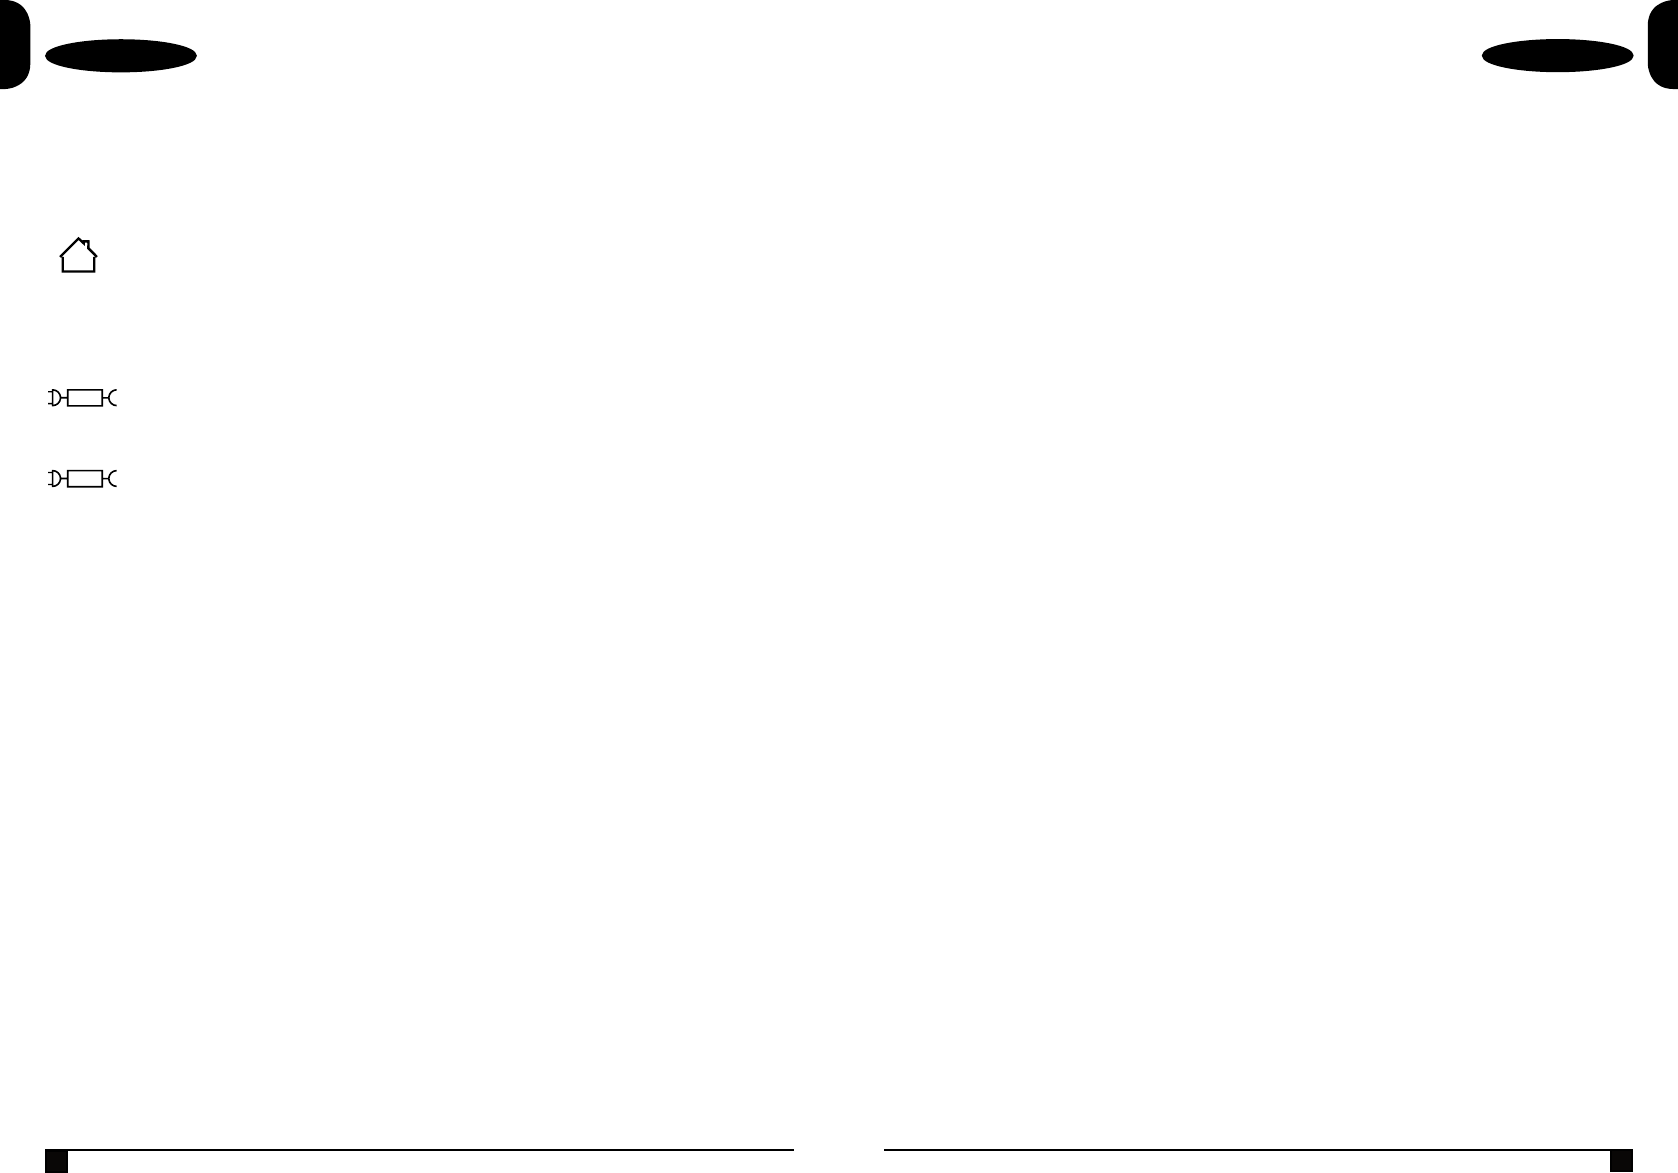
This tool is double insulated;
therefore no earth wire is
required. Always check that the
power supply corresponds to
the voltage on the rating plate.
The charging base is intended
for indoor use only.
Labels on appliance
The following symbols appear on this appliance along with the
date code:
NVC115JL/NVC115W/NVC115WA/
WDC115WA Only use with charger
SSC-040015EU/ S003BDV0500015
NVC215W/NVC215WA/NVC220WC/
WDC215WA Only use with charger
SSC-080015EU/ S003BEV0800015
Features
This tool includes some or all of the following features.
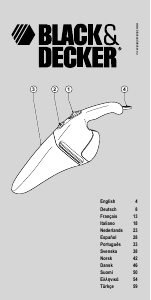
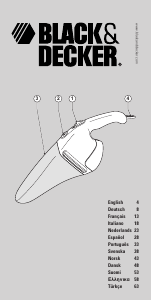
1. On/off switch
2. Bowl release button
3. Dust bowl
4. Charger base (NVC115W, NVC115WA, NVC215W,
NVC215WA, NVC220WC, WDC115WA, WDC215WA
units only).
4a. Charger jack plug (NVC115JL unit only).
5. Retractable crevice tool (NVC215W, NVC215WA and
NVC220WC Only)
6. Brush tool (NVC115WA, NVC215WA, NVC220WC,
WDC115WA and WDC215WA Only)
7. Crevice tool (NVC115WA Only)
8. Squeegee (WDC115WA and WDC215WA units Only)
Fig. A
10. Dry pick up cloth lter (NVC units Only)
11. Pre-lter (NVC units Only)
12. Wet/Dry foam insert (WDC units Only)
13. Wet/Dry deector (WDC units Only)
Installation
Wall Mounting (NVC115W, NVC115WA, NVC215W,
NVC215WA, NVC220WC, WDC115WA, WDC215WA units
only). (g. B)
The product can be attached to a wall to provide a convenient
storage and charging point for the appliance.
When xing to a wall, make sure that the xing method is
suitable for the wall type and is appropriate to the weight of
the appliance.
u Mark the location of the screw holes (within reach of an
electrical outlet for charging the vac while it is on the wall
bracket).
u Fix the mounting bracket to the wall using appropriate
screws and plugs for the type of wall and weight of the
appliance.
u Hang the appliance on the wall by placing the opening on
the base of the vac over the hook in the wall mount charg-
ing bracket.
Assembly
Accessories (g. C)
These models may be supplied with some of the following
accessories:
u A squeege tool (9) for wet use on hard surfaces.
u A brush tool (6 for furniture and stairs.
u A crevice tool (8) for conned spaces.
u A pet brush tool (7) for pet hair removal.
Note: Never use the pet brush tool directly on a pet.
Fitting (Fig. C)
u Insert the appropriate accessory into the front of the appli-
ance. Make sure that the accessory is pushed fully in.
Retractable crevice tool (NVC215W, NVC215WA and
NVC220WC units only) (Fig. D)
u Extend the crevice tool (5) as shown in gure D, until it
clicks in place.
u To retract the crevice tool, push down on the button (5a)
and slide back into the dust bowl (3) as shown in gure D.
Use
u Before rst use, the battery must be charged for at least
24 hours.
Warning! Before charging, be sure to empty all liquid contents
and dry thoroughly, to avoid damage to your appliance.
Charging the battery via charger base (NVC115W,
NVC115WA, NVC215W, NVC215WA, NVC220WC,
WDC115WA, WDC215WA units only) (Fig. B)
u Make sure that the appliance is switched off. The battery
will not be charged with the on/off switch (1) pressed.
u Place the appliance on the charging bracket (4).
u Plug in the charger. Switch on at the mains.
u Leave the appliance to charge for at least 21 hours.
While charging, the charger may become warm. This is
normal and does not indicate a problem. The appliance can
be left connected to the charger indenitely.
Warning! Do not charge the battery at ambient temperatures
below 10 °C or above 40 °C.
Charging the battery via charger jack plug
(NVC115JL unit only) (Fig. B1)
u Make sure that the appliance is switched off. The battery
will not be charged with the on/off switch (1) pressed.
u Insert the charger jack plug (4a) into the charging port
(4b).
u Plug in the charger. Switch on at the mains.
u The LED indicator wiil light up.
u Leave the appliance to charge for at least 21 hours.
While charging, the charger may become warm. This is
normal and does not indicate a problem. The appliance can
be left connected to the charger indenitely.
Warning! Do not charge the battery at ambient temperatures
below 10 °C or above 40 °C.
Switching on and off (g. E)
u To switch the appliance on, press and hold the on/off
switch (1).
u To switch the appliance off, release on/off switch (1).
Dry pick up (NVC units Only)
u For everyday spills of dry material.
Warning! Never pick up wet applications with these units.
Wet and dry pick up (WDC units Only)
u For everyday spills of dry material, use your appliance
without the squeegee accessory.
Warning! Your product is designed for light spills only.
u This appliance can also be used to pick up everyday liquid
spills. Use the squeegee accessory on non-absorbent,
hard surfaces. On absorbent surfaces, such as carpet,
your appliance will pick up wet spills better without the
accessory.
u For best performance on hard surface wet pickups, insert
squeegee into the bowl nozzle opening.
u For best results when using this accessory, hold the appli-
ance at an angle of 45° and pull it slowly towards you.
u Do not ll the bowl beyond the end of the intake chute. If
there is any liquid in the bowl, do not turn the unit upside
down, sideways, point the nozzle upward, or shake the
vac excessively.
u After picking up liquid substances clean the appliance and
lter immediately. Mold and mildew may form if the unit is
not properly cleaned after wet pickups.
u Before charging, be sure to empty all liquid contents and
dry thoroughly, to avoid damage to your appliance.
Optimising the suction force
In order to keep the suction force optimised, the lters must be
cleared regularly during use.
Emptying and cleaning the product
Removing the dust bowl and lters (g. F & G).
Warning! The lters are re-usable and should be cleaned
regularly.
u Press the bowl release button (2) and pull the dust bowl
(3) straight off.
u While holding the dust bowl over a bin or sink, pull out the
lter to empty the contents of the bowl.
u To replace the dust bowl, place it back onto the handle
until it “clicks” rmly into position.
Warning! Never use the appliance without the lters. Opti-
mum dust collection will only be achieved with clean lters.
Foam insert (g. H) (WDC units Only)
u Place the foam insert (12) into the centre of the wet/dry
deector (13).
Warning! Never use the appliance for wet applications without
the water deector and foam insert tted.
Pre-lter (g. I) (NVC units Only)
The Filter and pre-lter can be separated to allow better
cleaning.
u Twist the pre-lter (11) in an anti-clockwise direction and
lift from the lter (10).
Warning! Never pick up wet applications with these units.
Cleaning the dust bowls and lters
u The dust bowls and lters can be washed in warm soapy
water.
u Make sure that the lters and the dust bowl are dry before
re-tting.
Replacing the lters
The lters should be replaced every 6 to 9 months and when-
ever worn or damaged.
Replacement lters are available from your BLACK+DECKER
dealer:
Maintenance
Your BLACK+DECKER corded/cordless appliance/tool has
been designed to operate over a long period of time with a
minimum of maintenance. Continuous satisfactory operation
depends upon proper tool care and regular cleaning.
Warning! Before performing any maintenance on corded/
cordless power tools:
u Switch off and unplug the appliance/tool.
u Or switch off and remove the battery from the appliance/
tool if the appliance/tool has a separate battery pack.
u Or run the battery down completely if it is integral and then
switch off.
u Unplug the charger before cleaning it. Your charger does
not require any maintenance apart from regular cleaning.
SSC-040015EU/
S003DV0500015
SSC-080015EU/
S003BEV0800015
#


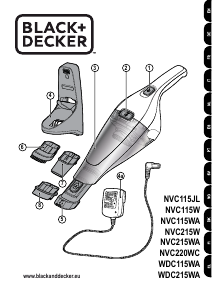
Joignez-vous à la conversation sur ce produit
Ici, vous pouvez partager ce que vous pensez du Black and Decker NVC215WA Aspirateur à main. Si vous avez une question, lisez d’abord attentivement le mode d’emploi. La demande d’un mode d’emploi peut être effectuée en utilisant notre formulaire de contact.