ENGLISH
3
ENGLISH
2
DISC PLAY
PRECAUTIONS
• Use only in a 12-volt DC negative-ground electrical system.
• Disconnect the vehicle's negative battery terminal while mounting and connecting the
unit.
• When replacing the fuse, be sure to use one with an identical amperage rating.
•Using a fuse with a higher amperage rating may cause serious damage to the unit.
•DO NOT attempt to disassemble the unit. Laser beams from the optical pickup are
dangerous to the eyes.
• Make sure that pins or other objects do not get inside the unit; they may cause
malfunctions, or create safety hazards such as electrical shock or laser beam exposure.
• If you have parked the car for a long time in hot or cold weather, wait until the
temperature in the car become normal before operating the unit.
• Keep the volume at a level at which you can hear outside warning sounds (horns
sirens, etc.).
CD NOTES
• Playing a defective or dusty CD can cause dropouts in sound.
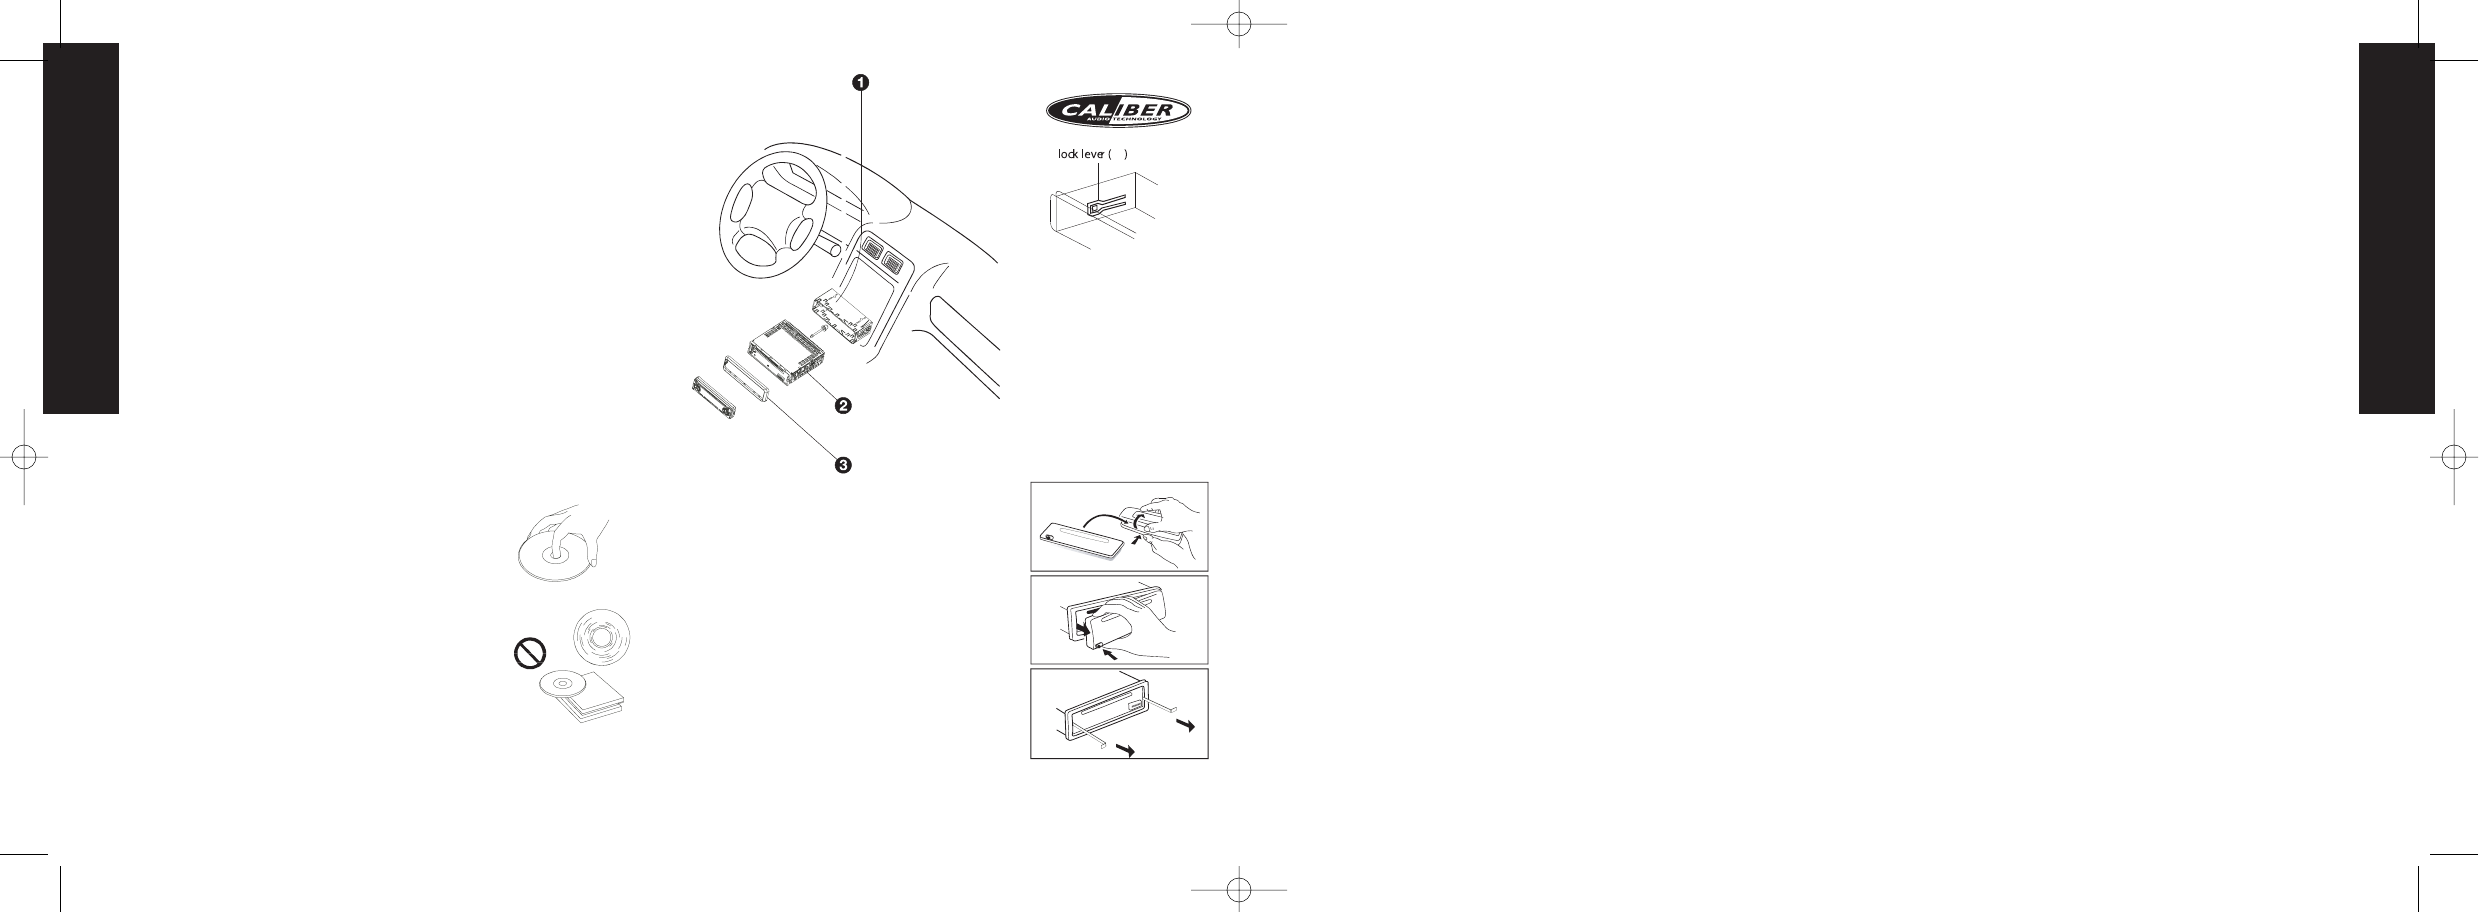
• Hold CDs as illustrated.
• DO NOT touch the unlabeled side.
• DO NOT attach any seal, label or data protection sheet to either side of a disc.
• DO NOT expose a CD to direct sunlight or excessive heat.
• Wipe a dirty CD from the center outward with a cleaning cloth.
•Never use solvents such as benzine or alcohol.
• This unit cannot play 3-inch ( 8cm ) CDs.
• NEVER insert a 3-inch CD contained in the adapter
or an irregularly shaped CD.
• The unit may not be able to eject it, resulting in a
malfunction.
BEFORE OPERATION
•DO NOT raise the volume level too much, as this
will block outside sounds, making driving dangerous.
• Stop the car before performing any complicated
operation.
CAUTION
DO NOT open covers and do not repair by yourself.
Consult the dealer or an experienced technician for help.
Installation procedures
First complete the electrical connections, and then
check them for correctness.
Anti-Theft System
This unit is equipped with a detachable panel.
Removing this panel makes the radio totally inoperable.
Removing the panel
1. Switch off the power of the unit.
2. Remove the detachable panel (REL button).
3. Gently press the button of the case and open the
cover. Place the panel into the case and take it with you
when you leave the car.
Install detachable panel
1.Fix right part of face plate in the right part of panel slot
of the unit.
2.Press down the left side of the face plate until it clicks
into the panel slot of the unit.
Remove the unit
Switch of the power of the unit.
1. Remove the panel and the trim plate.
2. Insert both T-Keys into hole in front of the set until
they lock.
3. Pull out the unit.
BASIC OPERATIONS
ON/OFF
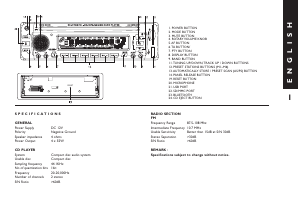
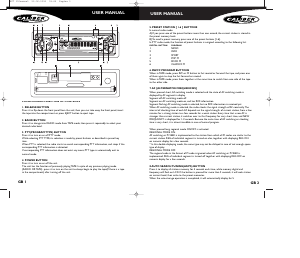
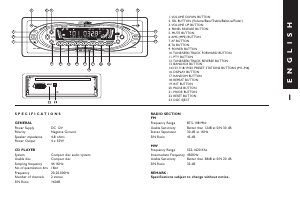
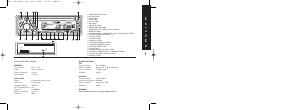
Switch on the unit by pressing POWER button (7) or any other button on the radio
(except eject) when system is on, press POWER button(7) to turn off the unit.
FACEPANEL RELEASE
Press REL button (1) to remove the facepanel.
SOUND ADJUSTMENT
Press button (8) volume knob to enter the sound set up,the sound set up will change
in the following order Volume, Bass,Treble, Balance, Fader and back to Volume.
Press the button (7) “MUTE” momentarily to mute the audio volume, and "Mute" will
flash in the display. Press the mute button again to restore volume to the previous setting.
IX-BASS (IX-BASS LEVEL)
Press button (5) “iX-Bass” for longer than 3 seconds to turn on the iX-Bass function, and
“iX-Bass will appear on the display for 3 seconds. Press button (5) again to turn off the
iX-Bass function.
SUBWOOFER
Press button (3) “SUB-W” for longer than 3 seconds to turn on the subwoofer function.
SOURCE
Press button (9) “MODE“ to switch between Tuner, CD, USB, SD/MMC, iPod and Aux
Line-In.
MENU OPERATIONS
Press the button (18) “DISPLAY/MENU” longer then 3 seconds to access the menu.
Press button (18) “DISPLAY/MENU” momentarily to move forward to the next
option.The menu can also be navigated by using the buttons (20) Tuning Up or Tuning
Down to move to the next or previous option. Once the desired option appears on
the display, adjust that option by rotating the volume control within 5 seconds. The
following options can be adjusted:
PAIRING
This option can be used to pairing the unit’s Blue Tooth system to your mobile phone
or other Blue Tooth device. Press audio button (8) to start pairing.
NOTE: Please refer to BLUE TOOTH HAND FREE Operation for the details
operation of “pairing”.
RE-CONNECTION/DIS-CONNECTION
This option can be used to Re-connect or Dis-connect the paired mobile phone or
Blue tooth device manually. Rotate the volume knob (8) to select “RE-CONN” or
“DIS-CONN”.Then press button (8) to activate the connection mode.
INCOMING CALL RINGING VOLUME (PHONE VOL)
Rotate the volume knob (8) to select the desired ringing volume from “00” to “+38”.
The default “Ringing volume level value” is “+20”.
AUTO ANSWER (A ANSWER)
Rotate the volume knob to select Auto answer “ON” or “OFF”. If “ON” is selected the
unit will automatically answer any incoming call without pressing the phone button.
CONTRAST
The contrast level of the display is set at “contrast 05” by default. Rotate the volume
control to adjust the contrast level from 00 to 10.
CLOCK FORMAT
This option allows selection of a 12 hour or 24 hour clock format.“CLK FORMAT 12”
is the default setting. Rotate the volume button to change the 24 hour clock format.
TIME SET
The time on the clock will be set to 12:00 as the default. Program the current time by
rotating the volume button clockwise to adjust the minutes and counterclockwise to
adjust the hours.
LOCAL/DISTANCE SELECT
This option can be used to designate the strength of the signals which the radio will stop
during automatic tuning. Rotate the volume knob (8) or press button (2) longer then 3
seconds to select “Distance” or “Local”.“Distance” (is the default):The radio will stop tuning
at a broader range of signals.“Local”:The radio will stop tuning at only strong local stations.
AREA (TUNER FREQUENCY SPACING)
With this option you can select the frequency spacing appropriate for your area.The
default setting is “AREA Europe”. Rotate the volume knob (8) to select USA Latin
America, Europe or Oirt options.
REGIONAL ON/OFF (REGION)
Rotate the volume knob (8) to select regional “ON” or “OFF”. If “ON” is selected and
“AF search” or “PI seek” is selected, the unit will implement to the station which have
all the PI codes which are the same as current station. If “OFF” is selected, the regional
code in the format PI code will be ignored.A regional station can be received.
NOTE:The regional function ON/OFF setting is valid when the “AF” function is “ON”.
PROGRAMMABLE TURN-ON VOLUME (VOL PGM)
This option allows selection of the volume level the radio will automatically assume
when first turned on.“VOL PGM 12” is the default setting, which will turn the radio
on at the volume level selected when the unit was last turned off.To program a
specific volume level for the radio to turn on at, rotate the volume control to select
“VOLUME LEVEL”.Within 5 seconds.
BEEP TONE
Rotate the volume knob (8) to select the following options:
BEEP ON: Beeps when any button is pressed.
BEEP OFF:To disable the beep option.
ILLUMINATION COLOR (COLOR)
With this option you can choose the display backlight. Rotate the volume button (8)
to select “COLOR 1” (Blue) or “COLOR 2” (Red).
1. Insert mounting bracket into the
dashboard, and bend the mounting
tabs out with a screwdriver. (Make
sure that lock lever is flush with
the mounting bracket. Not
projecting outward)
2. Secure the rear of the unit After
fixing mounting bolt and power
connector, fix the rear of the unit
to the car body by rubber cushion.
3. Insert trimplate


Joignez-vous à la conversation sur ce produit
Ici, vous pouvez partager ce que vous pensez du Caliber MCD370 Autoradio. Si vous avez une question, lisez d’abord attentivement le mode d’emploi. La demande d’un mode d’emploi peut être effectuée en utilisant notre formulaire de contact.