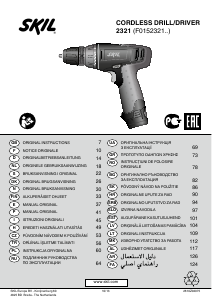
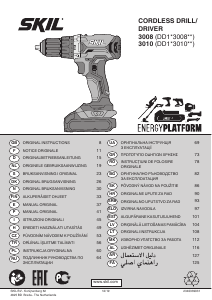
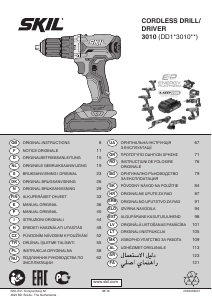
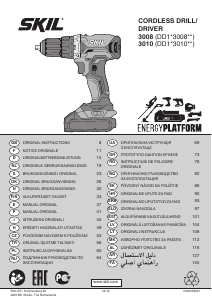
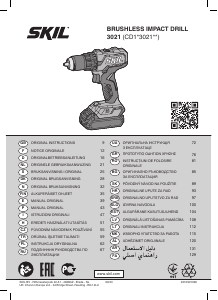
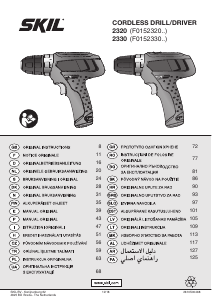
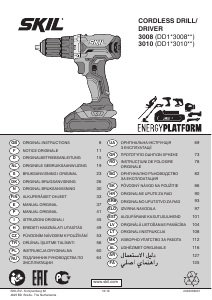
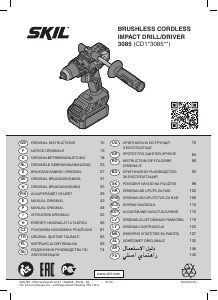
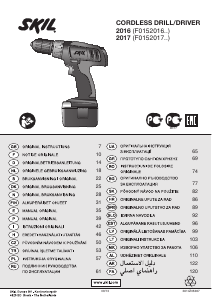
Mode d’emploi Skil 2016 AA Perceuse visseuse

Besoin d'un mode d’emploi pour votre Skil 2016 AA Perceuse visseuse ? Ci-dessous, vous pouvez consulter et télécharger gratuitement le mode d’emploi PDF en français. Ce produit a actuellement 3 questions fréquemment posées, 0 commentaires et 0 votes. Si ce n'est pas le mode d’emploi que vous souhaitez, veuillez nous contacter.

Votre produit est défectueux et le mode d’emploi n’offre aucune solution ? Rendez-vous à un Repair Café pour obtenir des services de réparation gratuits.

Mode d’emploi

Loading…

9
APPLICATION ADVICE
 Use the appropriate bits
o
! only use sharp bits
 When drilling ferrous metals
- pre-drill a smaller hole, when a large hole is required
- lubricate drill bit occasionally with oil
 When turning in a screw at/near the cross cut end or an
edge of wood, pre-drill a hole in order to avoid cracking
of the wood
 For an optimal use of the tool a steady pressure on the
screw is required, especially while removing
 When screwdriving in hard wood one should pre-drill a
hole
 Splinterfree drilling in wood
p
 Dustfree drilling in walls
a
 Dustfree drilling in ceilings
s
 Drilling in tiles without skidding
d
 For more tips see www.skil.com
MAINTENANCE / SERVICE
 This tool is not intended for professional use
 Keep tool and charger clean
- clean charging contacts in charger with alcohol or
contact cleaner
! unplug charger from power source before
cleaning
 If the tool/charger should fail despite the care taken in
manufacturing and testing procedures, repair should
be carried out by an after-sales service centre for SKIL
power tools
- send the tool or charger undismantled together with
proof of purchase to your dealer or the nearest SKIL
service station (addresses as well as the service
diagram of the tool are listed on www.skil.com)
- in case of a defective charger send both charger and
battery to your dealer or the SKIL service station
ENVIRONMENT
 Do not dispose of electric tools, accessories and
packaging together with household waste material
(only for EU countries)
- in observance of European Directive 2002/96/EC
on waste of electric and electronic equipment and
its implementation in accordance with national law,
electric tools that have reached the end of their life
must be collected separately and returned to an
environmentally compatible recycling facility
- symbol
9
will remind you of this when the need for
disposing occurs
 The battery must be kept separate from the natural
environment and should not be disposed of as normal
domestic waste (symbol
q
will remind you of this when
the need for disposing occurs)
! prior to disposal protect battery terminals with

9
Do not dispose of the charger together with household
waste material
q
Do not dispose of the battery together with household
waste material
USE
 Charging battery
w
- battery of new tools is not fully charged
- connect charger to power source as illustrated
- green light G will turn on indicating that the charger is
ready for operation
- insert battery into charger
- red light H will turn on indicating that the battery is
being charged
- charge the battery for at least 5 hours, after which
the battery may be used even though the red light
may still be on (the red light may require more than 5
hours to turn o)
! remove battery from charger after charging
period has ended thereby lengthening the service
life of the battery
IMPORTANT:
- while charging, the charger and the battery may
become warm to touch; this is normal and does not
indicate a problem
- ensure that the outside surface of the battery is clean
and dry before inserting into charger
- do not charge at temperatures below 0°C and over
40°C; this will seriously damage the battery as well as
the charger
- do not remove battery from tool while it is running
! a battery that is new or has not been used for a
longer period does not develop its full capacity
until after approximately 5 charging/discharging
cycles
- do not repeatedly recharge the battery after only a few
minutes of operation; this may result in a reduction of
operating time and battery eciency
- if you anticipate long periods of non-use for the tool, it
is best to unplug the charger from its power source
 On/o
e
 Speed control for smooth starting
r
 Changing direction of rotation
t
- when not properly set in left/right position, switch A
2
cannot be activated
! change direction of rotation only when tool is at a
complete standstill
 Changing bits
y
- insert the bit as deep as possible in the chuck
! do not use bits with a damaged shank
 Torque control (VariTorque)
u
- limits the amount of output torque delivered by the
chuck (21 clutch settings)
- when turning in a screw, rst try VariTorque position 1
and increase until the desired depth has been reached
 Holding and guiding the tool
i
! 
coloured grip area(s)
- keep ventilation slots E
2
uncovered
- do not apply too much pressure on the tool; let the tool
do the work for you
Télécharger mode d’emploi en Français (PDF, 2.9 MB)
(Tenez compte de l’environnement et imprimez ce manuel uniquement si c’est vraiment nécessaire)

Loading…

Évaluation

Dites-nous ce que vous pensez du Skil 2016 AA Perceuse visseuse en laissant une note de produit. Vous voulez partager vos expériences avec ce produit ou poser une question ? Veuillez laisser un commentaire au bas de la page.
Etes-vous satisfait du Skil 2016 AA Perceuse visseuse ?
Oui Non
Soyez le premier à évaluer ce produit
0 évaluations

Joignez-vous à la conversation sur ce produit

Ici, vous pouvez partager ce que vous pensez du Skil 2016 AA Perceuse visseuse. Si vous avez une question, lisez d’abord attentivement le mode d’emploi. La demande d’un mode d’emploi peut être effectuée en utilisant notre formulaire de contact.

En savoir plus sur ce mode d’emploi

Nous comprenons qu’il est agréable d’avoir un mode d’emploi papier pour vos Skil 2016 AA Perceuse visseuse. Vous pouvez toujours télécharger le mode d’emploi depuis notre site Web et l’imprimer vous-même. Si vous souhaitez disposer d’un mode d’emploi original, nous vous recommandons de contacter Skil. Ils pourront peut-être fournir un mode d’emploi original. Recherchez-vous le mode d’emploi de votre Skil 2016 AA Perceuse visseuse dans une autre langue ? Choisissez votre langue préférée sur notre page d’accueil et recherchez le numéro de modèle pour voir si nous l’avons disponible.

Caractéristiques

Marque Skil
Modèle 2016 AA
Catégorie Perceuses visseuses
Type de fichier PDF
Taille du fichier 2.9 MB

Tous les modes d’emploi pour Skil Perceuses visseuses
Plus de modes d’emploi de Perceuses visseuses

Foire aux questions sur Skil 2016 AA Perceuse visseuse

Notre équipe d’assistance recherche des informations utiles sur les produits et des réponses aux questions fréquemment posées. Si vous trouvez une inexactitude dans notre foire aux questions, veuillez nous le faire savoir en utilisant notre formulaire de contact.

Je n'arrête pas d'endommager la tête de vis lorsque j'utilise la perceuse-visseuse. Pour quelle raison ? Vérifié

Il y a moyen de régler la plupart des perceuses-visseuses pour qu'elles vissent plus fort ou plus doucement. Si la tête de vis continue à être endommagée, il faut probablement régler différemment la perceuse-visseuse. Pour un appareil sans fil, assurez-vous toujours que la batterie est chargée pour obtenir un résultat optimal.

Cela a été utile (80) En savoir plus

Dois-je porter une protection auditive lorsque j'utilise une perceuse ? Vérifié

Oui, vous devriez. Bien que la quantité de bruit produite par une perceuse varie selon les marques et les modèles, une exposition prolongée aux bruits forts peut entraîner des lésions auditives permanentes. C'est pourquoi il est judicieux de porter une protection auditive.

Cela a été utile (27) En savoir plus

Puis-je ranger des outils électriques dans un hangar ou un garage ? Vérifié

En général, vous pouvez ranger les outils électriques dans un cabanon ou un garage, même s'il y gèle parfois. Cependant, pour préserver la durée de vie de l'outil électrique, il est préférable de le stocker dans un endroit sec et sans variations de température importantes. Dans une remise ou un garage, les différences de température peuvent provoquer la formation de condensation, ce qui peut provoquer de la rouille. De plus, les outils fonctionnant sur piles durent moins longtemps et se chargent moins bien à des températures très basses. Pour être sûr de la manière dont votre outil électrique doit être stocké, lisez toujours attentivement le manuel d'utilisation.

Cela a été utile (12) En savoir plus
Mode d’emploi Skil 2016 AA Perceuse visseuse

Produits connexes

Catégories associées