Mode d’emploi Makita DMR050 Radio

Besoin d'un mode d’emploi pour votre Makita DMR050 Radio ? Ci-dessous, vous pouvez consulter et télécharger gratuitement le mode d’emploi PDF en français. Ce produit a actuellement 2 questions fréquemment posées, 0 commentaires et 0 votes. Si ce n'est pas le mode d’emploi que vous souhaitez, veuillez nous contacter.

Votre produit est défectueux et le mode d’emploi n’offre aucune solution ? Rendez-vous à un Repair Café pour obtenir des services de réparation gratuits.

Mode d’emploi

Loading…
5
NOTE:
Depending on the conditions of use and the ambient
temperature, the indication may differ slightly from the
actual capacity.
Operating the radio
WARNING:
Avoid using this unit in metal dust surrounding, as it will
affect the quality of the speaker.
WARNING:
Do not soak the unit into water. It can only tolerate in the
environment under 90% of humidity.
This unit equips with three tuning methods- Scan tuning,
Manual tuning and Memory presets recall.
Scan tuning
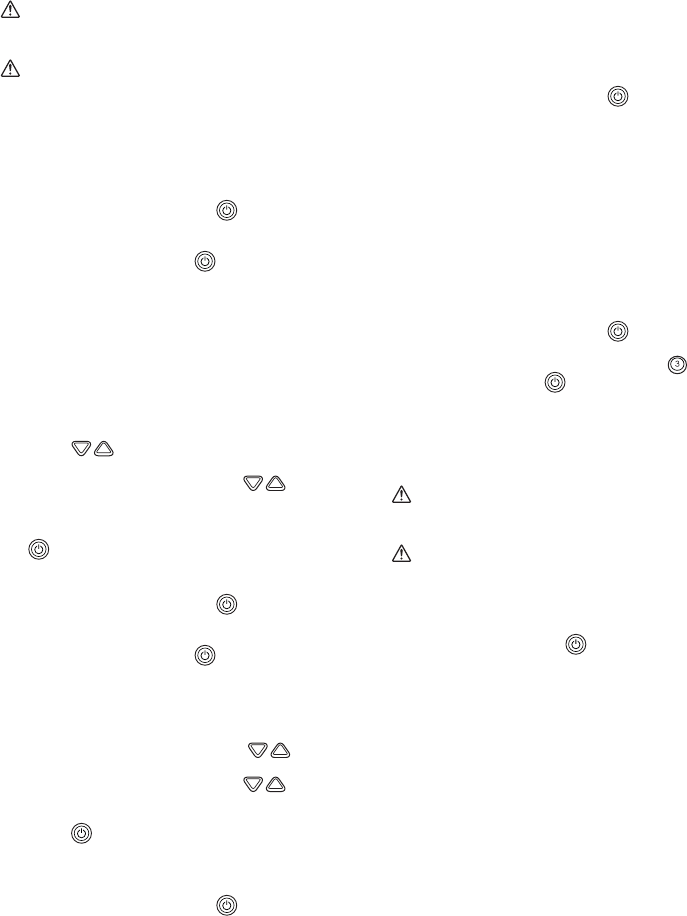
1. Press the Radio power button [ ] to turn on the
radio.
2. Select the desired waveband (i.e. AM/FM) by brief
pressing the Power button [ ].
Note:
Make sure the antenna has been extended for the best
FM reception. For AM band, rotate the radio horizontally
to get the best signal.
Important:
Try to avoid operating the radio next to computer screen
and other equipment which will cause interference to the
radio.
3. Press and hold the Radio Station Tuning Up/Down
button [ ] over 0.5 seconds. The frequency will
stop at the next available station.
4. Press the Volume Up/Down button [ ] to get the
optimal sound level. LCD display will show sound level
changes (0-40 steps).
5. To turn off the radio, press and hold the Power button
[ ] until OFF is shown on the LCD display.
Manual tuning
1. Press the Radio power button [ ] to turn on the
radio.
2. Select the desired waveband (i.e. AM/FM) by brief
pressing the Power button [ ].
Note:
Make sure the antenna has been extended for the best
FM reception. For AM (MW) band, rotate the radio to get
the best signal.
3. Press the Tuning Up/Down Control [ ] until the
desired frequency shown on the display.
4. Press the Volume Up/Down button [ ] to get the
optimal sound level.
5. To turn off the radio, press and hold the Radio power
button [ ] until OFF is shown on the LCD display.
Storing stations in presets memories
There are 3 memory presets for each waveband.
1. Press the Radio power button [ ] to turn on the
radio.
2. Tune to desired station using the steps previously
described.
3. Press and hold the desired Preset button (approx.
3 sec) until the preset number stop flashing on the
display. The preset number will appear in the display
and the station will be stored under chosen preset
button.
4. Repeat this procedure for the remaining presets.
Note:
Stations stored in preset memories can be overwritten by
following above procedures.
Recall stations from preset memories
1. Press the Radio power button [ ] to turn on the
radio.
2. Select the desired waveband.
3. Press the desired Preset button, the preset number
and station frequency will appear in the display.
System reset
If your radio fails to work properly, or some digits on the
display are missing or incomplete, carry out the following
procedure.
Note:
To reset the system, you must put the radio in OFF
mode.
1. Press the Radio power button [ ] to turn off the
radio.
2. Press and hold both the preset button 3 [ ] and the
Radio power button [ ] for approximately
5 seconds. When the LCD shows a display of all the
icons, all the preset memories are back to factory
default.
Using flash light (Fig. 8)
WARNING:
To reduce the risk of injury, do not look directly into the
light when the work light is on.
WARNING:
To reduce the risk of injury, DO NOT operate work light
without bezel assembly in place.
Using and adjusting the pivot head
Press the flash light button [ ] to switch on/off the
flashlight when the radio is either on or off.
Note:
The pivot head can pivot to a range of 150 degrees and
can be adjusted in 6 stages. Pivot head to desired
position. Allow the detent to snap into place.
Important:
Do not forcibly pivot the head.
LCD back light
Press any control buttons, LCD display will illuminate for
approx. 10 seconds.
Télécharger mode d’emploi en Français (PDF, 10.97 MB)
(Tenez compte de l’environnement et imprimez ce manuel uniquement si c’est vraiment nécessaire)

Loading…

Évaluation

Dites-nous ce que vous pensez du Makita DMR050 Radio en laissant une note de produit. Vous voulez partager vos expériences avec ce produit ou poser une question ? Veuillez laisser un commentaire au bas de la page.
Etes-vous satisfait du Makita DMR050 Radio ?
Oui Non
Soyez le premier à évaluer ce produit
0 évaluations

Joignez-vous à la conversation sur ce produit

Ici, vous pouvez partager ce que vous pensez du Makita DMR050 Radio. Si vous avez une question, lisez d’abord attentivement le mode d’emploi. La demande d’un mode d’emploi peut être effectuée en utilisant notre formulaire de contact.

En savoir plus sur ce mode d’emploi

Nous comprenons qu’il est agréable d’avoir un mode d’emploi papier pour vos Makita DMR050 Radio. Vous pouvez toujours télécharger le mode d’emploi depuis notre site Web et l’imprimer vous-même. Si vous souhaitez disposer d’un mode d’emploi original, nous vous recommandons de contacter Makita. Ils pourront peut-être fournir un mode d’emploi original. Recherchez-vous le mode d’emploi de votre Makita DMR050 Radio dans une autre langue ? Choisissez votre langue préférée sur notre page d’accueil et recherchez le numéro de modèle pour voir si nous l’avons disponible.

Caractéristiques

Marque Makita
Modèle DMR050
Catégorie Radios
Type de fichier PDF
Taille du fichier 10.97 MB

Tous les modes d’emploi pour Makita Radios
Plus de modes d’emploi de Radios

Foire aux questions sur Makita DMR050 Radio

Notre équipe d’assistance recherche des informations utiles sur les produits et des réponses aux questions fréquemment posées. Si vous trouvez une inexactitude dans notre foire aux questions, veuillez nous le faire savoir en utilisant notre formulaire de contact.

Qu’est-ce que DAB+ ? Vérifié

DAB+ est le successeur du signal FM et signifie « Digital Audio Broadcasting. » (radiodiffusion sonore numérique). Il s’agit d'un signal numérique autorisant plusieurs chaînes dans la même bande passante et permettant un changement plus facile entre les chaînes.

Cela a été utile (303) En savoir plus

Quelle est la différence entre FM et AM ? Vérifié

FM et AM sont deux formes de modulation utilisées pour transmettre un signal. FM signifie « Frequency Modulation » (modulation de fréquence) et « AM » signifie « Amplitude Modulation » (modulation d’amplitude. AM est la plus ancienne forme de modulation. La plus grande différence réside dans le fait que le signal FM est bien plus fort que le signal AM.

Cela a été utile (243) En savoir plus
Mode d’emploi Makita DMR050 Radio

Produits connexes

Catégories associées

×
Download